Optimise Images for Web
As a developer, to help give users the best experience on the sites you build, you need to optimise the files to reduce the initial load time. Users are less likely to navigate away from a fast loading website and it will also benefit from a higher rank in search engine results. One set of assets that will slow down your website are the images that need to be downloaded from the server.
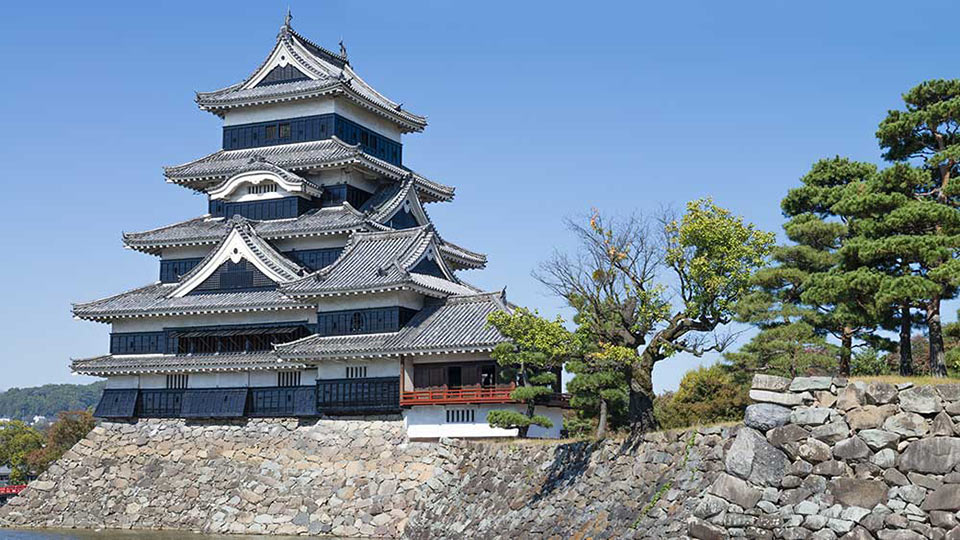
With the rise of pixel dense digital cameras nowadays, you can end up with image file sizes of over 20MB, the image of Matsumoto Castle taken in Japan with a 38-megapixel Nikon D800 was a staggering 21.7MB.
Although this is great quality for printing, it is far too large for web and will need to be optimised to reduce the file size, so it will load fast when it renders on the page. There are many tools that can be used to reduce file sizes and although my favourite and the one I use is Adobe Photoshop, there are other options out there and some are free, these include Gimp (Mac, Linux and PC), Paint on PC and Preview on Mac.
Photoshop Tutorial
In the following tutorial, I’m going to take you through the steps needed to optimise your images in Photoshop.
Once you open your image in Photoshop, the first thing you want to do is resize the pixel dimensions to the maximum size you will need it on your website. For the purposes of this tutorial, I will set the width to 800 pixels.
Click on Image then on Image Size, this will open a pop-up box where you can change the dimensions of the image, make sure the constrain aspect ratio icon is set to constrain and change the width to 800, making sure Pixels are selected in the dropdown menus to the right and click on OK.
This has dramatically reduced the size of the image, but it is still too large for web. We now need to adjust the quality of the image, so it will still look good on a webpage but reduce the file size for optimal performance.
To do this, click on File, Export, Export As… then change the quality from 100% to a lower percentage to the point that the image is still good quality. I have set the Matsumoto image to 30% and it is still looking good, you can now click on Export All to save the file. The image size is now 86.2kb as illustrated below and it was being used at the start of this article in my old blog.

ImageOptim
Another tool that can reduce file sizes even further is ImageOptim. It’s really easy to use, just drag and drop your image in to the application and it automatically reduces the file size of the original image, it has helped save an extra 10% on average.
I hope you found this article useful, thank you for reading.